Featured Motion Control Products
prev
next
Travel Farther
Bring Motion
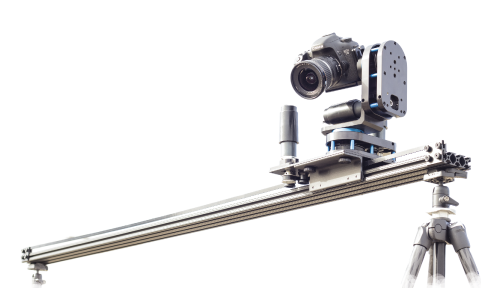
Stage Zero
The original brute of a dolly where it all began.
Designed around a common, inexpensive and world-sourceable aluminum rail, it's our most economical and practically indestructible slider system.
Choose a slider only or build a multi-axis rig.
Choose a slider only or build a multi-axis rig.
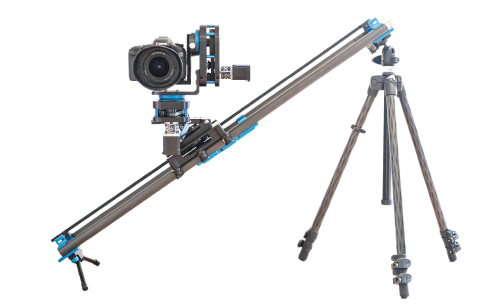
Stage One PLUS
The ultralight carbon fiber slider you can carry in a backpack.
Travel farther and bring the motion with you. Precision made joinable extensions provide buttery-smooth camera movement while allowing the system to collapse or expand to any length you need.
Choose a slider only or build a multi-axis rig.
Choose a slider only or build a multi-axis rig.
Stage R: Rotary
Rock solid powerhouse panning and tilting to use alone or on a slider.
Use the tough-as-nails lightweight platform as a standalone pan or tilt motion setup, combine two for a 2-axis pan and tilt rig or add both units to your slider for full 3-axis motion control.
Choose a one or two axis setup.
Choose a one or two axis setup.